Welcome to our website!


How to Install Heat Shrink Sleeve on Pipeline Field Joints – Step by Step
How to Install Heat Shrink Sleeve on Pipeline Field Joints – Step by Step
Proper installation of heat shrink sleeves on pipeline field joints is essential for long-term corrosion protection. This guide walks you through the complete process — from surface preparation to final inspection — with practical tips to avoid common mistakes.
Why Field Joint Coating Matters
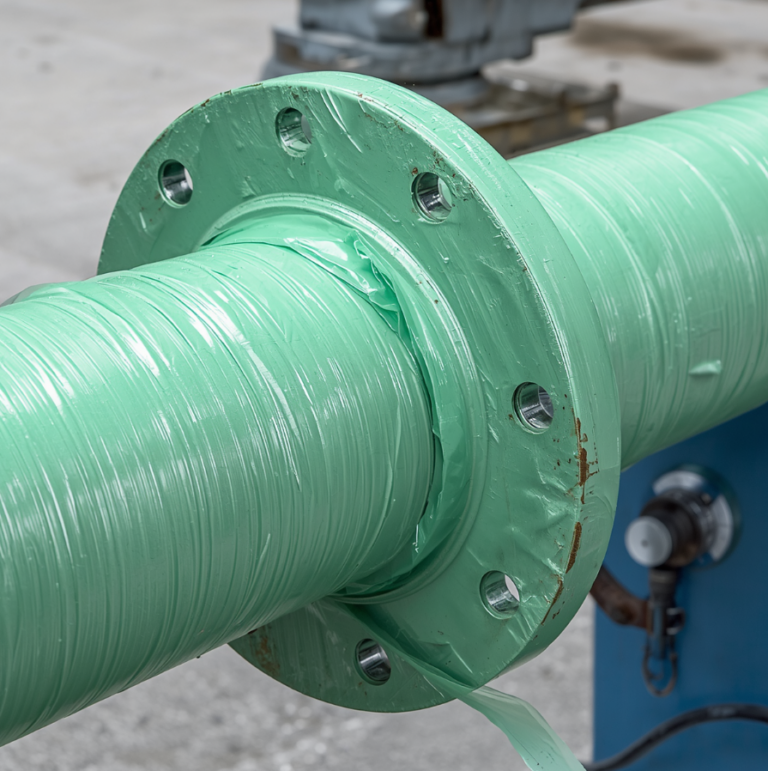
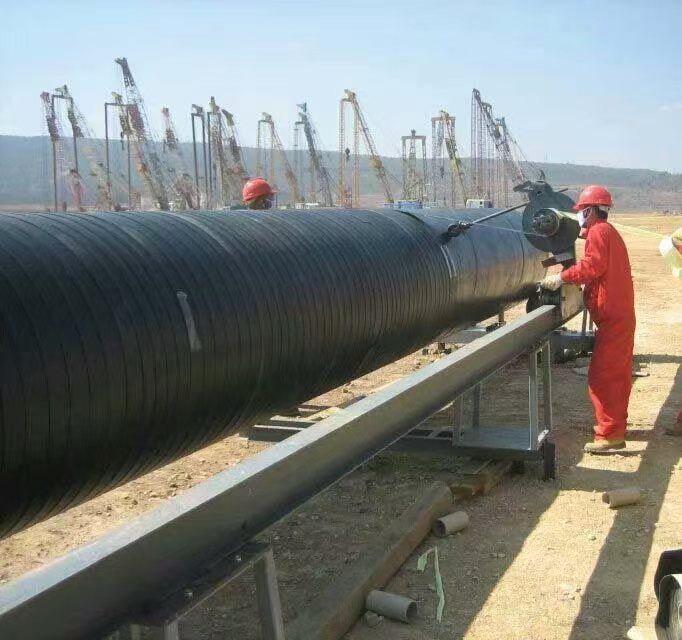
Field joints — the welded connections between pipe sections — are the most vulnerable points in any pipeline coating system. The welding process destroys the factory-applied coating at the joint, leaving bare steel exposed. Field-applied coatings, such as heat shrink sleeves, must provide protection equivalent to the mill coating for the pipeline to achieve its design life.
Proper installation is not optional — it is essential for pipeline integrity.
Tools and Materials Required
- Heat shrink sleeve (sized for the pipe diameter)
- Solvent-free epoxy primer (two-component)
- Propane torch with appropriate nozzle
- Contact thermometer (for temperature measurement)
- Grinder with abrasive wheels
- Wire brush and cleaning tools
- Roller or gloved hand for smoothing
Step-by-Step Installation Guide
Step 1: Surface Preparation
Proper surface preparation is the foundation of a reliable field joint coating. The quality of the steel surface directly affects adhesion and long-term performance.
Requirements:
- Cleanliness: Remove all dirt, oil, grease, and moisture from the weld area and adjacent pipe coating.
- Blast cleaning: The steel surface must be cleaned to Sa2.5 (near-white metal) according to ISO 8501-1. This removes all visible rust, mill scale, and contaminants.
- Profile: The surface profile should be 50-100µm for optimal primer adhesion.
- Weld preparation: Grind smooth any weld spatter, sharp edges, or protrusions that could damage the sleeve during shrinking.
Note: If blasting is not possible, the steel surface must be power-tool cleaned to St3 standard — but Sa2.5 is strongly preferred for critical applications.
Step 2: Pipe Preheating
Preheating serves two purposes: it removes surface moisture and ensures the primer can be applied at the correct temperature.
Procedure:
- Preheat the pipe around the weld to 75°C-85°C (or as specified by the primer manufacturer).
- Use a contact thermometer to measure temperature — do not rely on visual indicators alone.
- Maintain the temperature within the recommended range throughout the primer application.
- For cold weather conditions, preheating is even more critical to ensure proper primer flow and adhesion.
Step 3: Primer Application
The primer is a critical bonding layer between the steel substrate and the heat shrink sleeve. Without it, the sleeve cannot achieve its required adhesion strength.
Procedure:
- Mix the two-component solvent-free epoxy primer according to the manufacturer’s ratio.
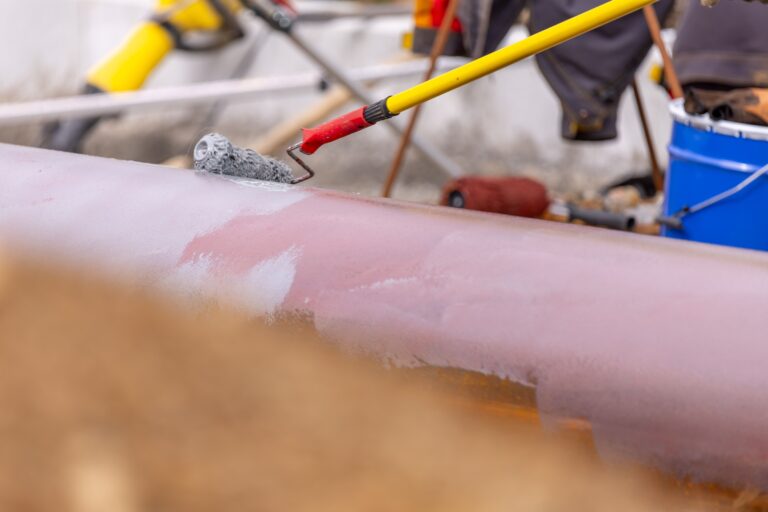
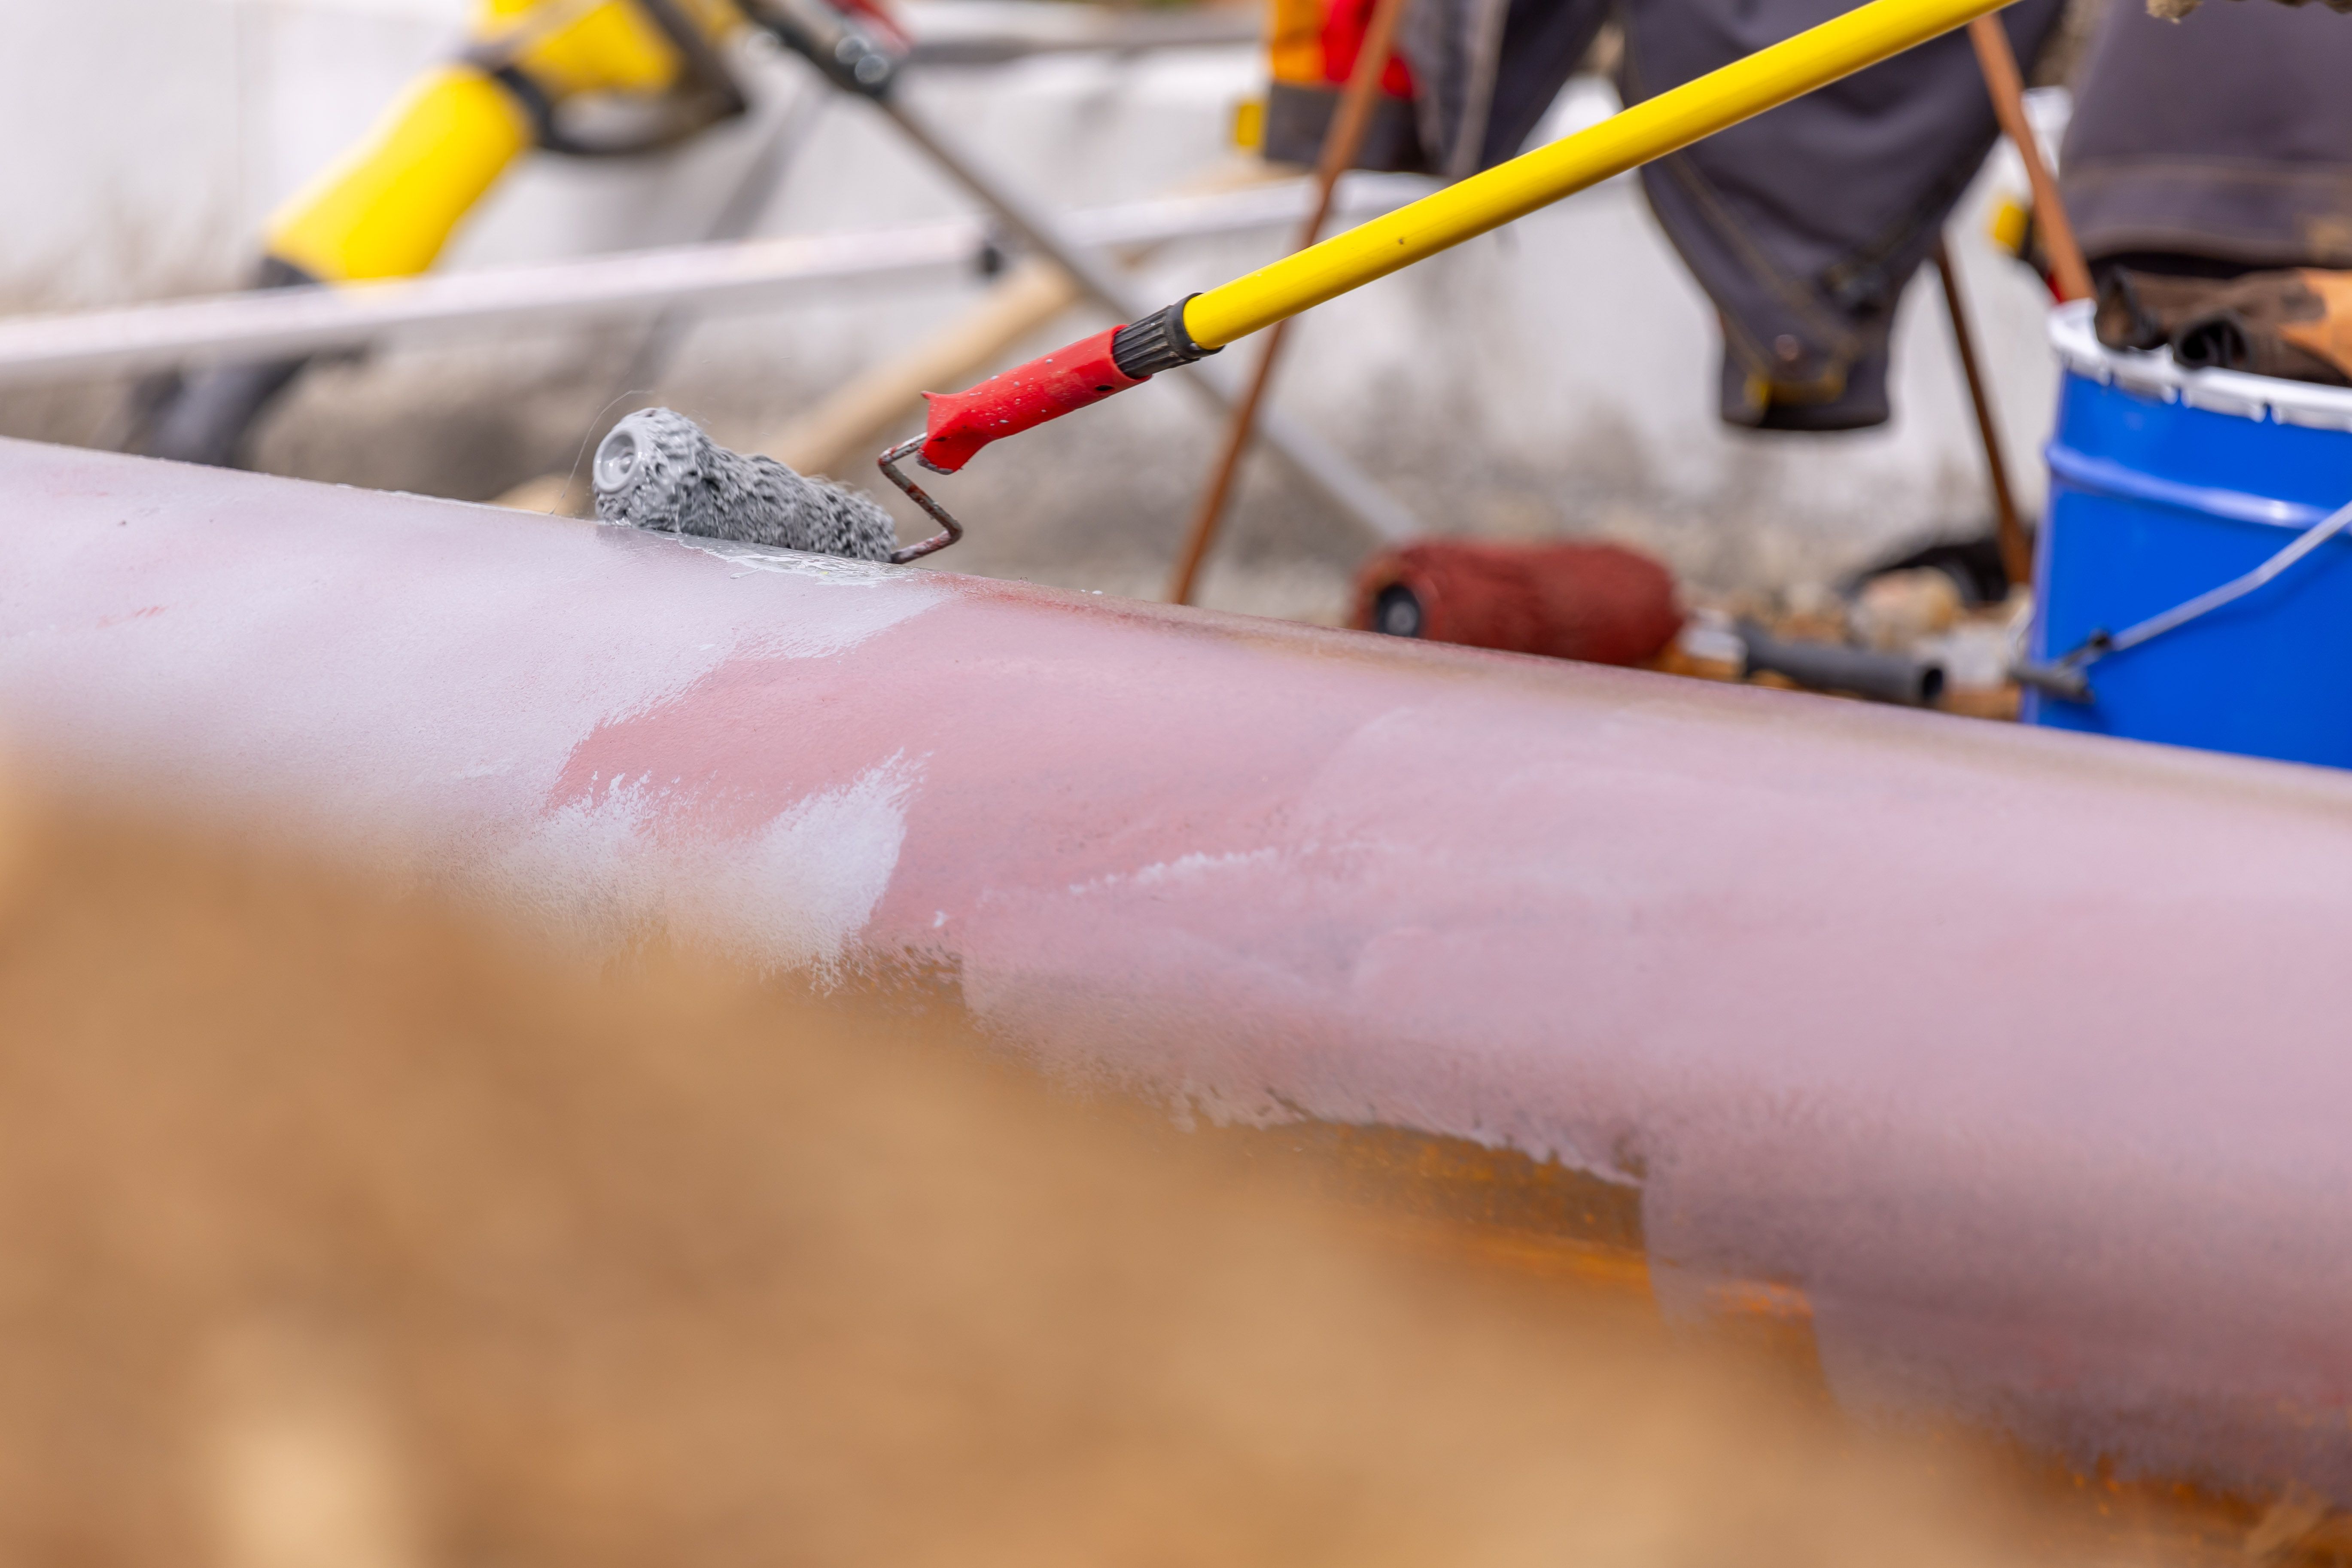
- Apply the primer evenly to the prepared steel surface using a brush or roller.
- Apply the primer immediately after preheating — the surface temperature should still be 75°C-85°C.
- Ensure full coverage without missing spots, runs, or excessive thickness.
- Allow the primer to become tack-free (typically 2-5 minutes at the recommended temperature) before proceeding.
Tip: Mix only the amount of primer that can be applied within its pot life (usually 15-30 minutes at 20°C).
Step 4: Position the Heat Shrink Sleeve
Proper positioning ensures the sleeve covers the weld and overlaps the adjacent mill coating correctly.
Procedure:
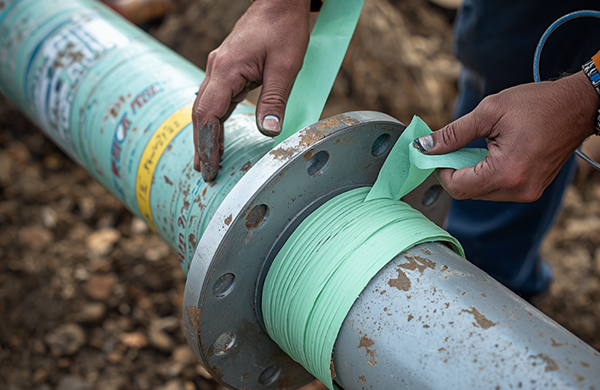
- Slide the heat shrink sleeve over the pipe and position it centrally over the weld.
- The sleeve should overlap the adjacent pipe coating by a minimum of 50mm on each side.
- For large-diameter pipes, ensure the sleeve is evenly positioned around the circumference.
- Check that the sleeve is not twisted or folded before heating.
Step 5: Heating and Shrinking
This is the most critical step — proper heating ensures the sleeve shrinks uniformly and the adhesive bonds completely.
Procedure:
- Begin heating from the center of the sleeve, moving outward toward both ends.
- Use a sweeping motion with the propane torch — do not hold the flame stationary in one spot.
- Maintain a flame distance of 200-300mm from the sleeve surface.
- Heat evenly around the circumference, moving progressively from center to ends.
- The sleeve should shrink uniformly. Adhesive flow at both ends indicates the sleeve is fully shrunk and bonded.
- For large-diameter sleeves, two operators working from opposite sides can ensure even heating.
Signs of proper shrinking:
- Smooth, wrinkle-free surface
- Adhesive visible at both ends (indicates complete sealing)
- No bubbles or voids under the sleeve
Step 6: Final Inspection
After the sleeve has cooled to ambient temperature, conduct a thorough inspection:
- Check for complete coverage — the sleeve should fully cover the weld and overlap the mill coating.
- Check for smooth, wrinkle-free surface — wrinkles indicate uneven heating or insufficient shrinkage.
- Check for adhesive exudation — visible adhesive at both ends indicates a proper seal.
- Check for voids or bubbles — tap the sleeve surface; hollow sounds indicate voids.
If any defects are found, repair using a suitable repair patch or seek guidance from the coating manufacturer.
Common Installation Mistakes to Avoid
| Mistake | Consequence | How to Avoid |
|---|---|---|
| Insufficient surface preparation | Poor adhesion, coating failure at the joint | Always achieve Sa2.5 with the correct profile |
| Inadequate preheating | Primer fails to cure properly, poor bond | Use a contact thermometer to confirm 75°C-85°C |
| Overheating the sleeve | Backing burns, adhesive degradation | Keep torch moving, maintain 200-300mm distance |
| Uneven heating | Wrinkles, bubbles, incomplete sealing | Heat from center outward, move evenly around circumference |
| Insufficient overlap with mill coating | Corrosion at the overlap area | Ensure minimum 50mm overlap on both sides |
Compatibility with Mill Coating Systems
Heat shrink sleeves must be compatible with the existing mill coating system on the pipe. Our sleeves are designed to bond securely with:
- 3LPE — Three-layer polyethylene
- FBE — Fusion bonded epoxy
- 2LPE — Two-layer polyethylene
- Liquid epoxy coatings
If you are unsure about compatibility with your specific mill coating, contact our technical team for guidance.
Standards Compliance
Our heat shrink sleeves and installation procedures comply with the following standards:
- ISO 21809-3 — External coatings for buried and submerged pipelines
- GB/T 23257 — Chinese standard for pipeline coating
- NACE SP0109 — Application of tape coatings for external corrosion protection
Related Products
Heat Shrinkable Sleeve →
Solvent-Free Epoxy Primer →
Need Technical Support?
Our team provides on-site training, application support, and troubleshooting assistance for heat shrink sleeve installations. Contact us for project-specific guidance.